Recording video has never been so easy. With a little practice and access to a few key tips you can start recording great footage using just your smartphone or tablet.
Double check all the requirements beforehand. How long should the video be? When is it needed for? What format would they like it in?What’s the key objective? Are there any examples of similar videos? Will it be edited (usually, yes, but it’s worth asking)?
Find a location that is well-lit with natural sunlight or plenty of indoor lighting. Avoid side lighting and back lighting. Both create shadows and are often unflattering.
Choose a quiet location with little background noise (street sounds, music, other people).
Use a clean or aesthetically relevant background.
Avoid spaces with lots of echo. Bigger and emptier rooms will echo.
Turn off air conditioners and heaters to avoid fan noise.
Provide a seat for yourself that is stationary and quiet (no chairs with wheels/swivels, overstuffed cushions, or squeaky screws).
Don't use virtual backdrops.
Set your laptop, phone, or camera on a tripod or steady surface (please do not hold your camera while shooting to avoid shaky footage).
Sit close enough, but not too close that it feels uncomfortable. Sit back so that the camera is not shooting up at you.
Shoot horizontally (use landscape mode and avoid portrait mode). Nothing ruins great footage like having two black vertical bars along both sides of your video. Not only does landscape make your video seem more aesthetically pleasing in general, it'll also make it more enjoyable to watch when viewed on a widescreen or television. Plus, you'll capture more in the actual video.
Choose a non-distracting background (avoid windows, showing other people, posters/signs that can be read etc). A plain wall or a tidy study or living room area are usually good options. Watch out for objects interfering with the edges. Think about the image you want to convey. Is it professional, relatable, relaxed or serious?
Position the camera at eye level.
Don't use an effects.
*Avoid using a webcam. Webcams often provide poor quality footage.
Look at the camera at all times.
Keep your hand movements to a minimum.
Stand/sit up straight.
Keep your hands to your side or gently folded in front of you (no crossed arms).
Keep your shoulders relaxed.
Smile, especially at the beginning and the end of each response.
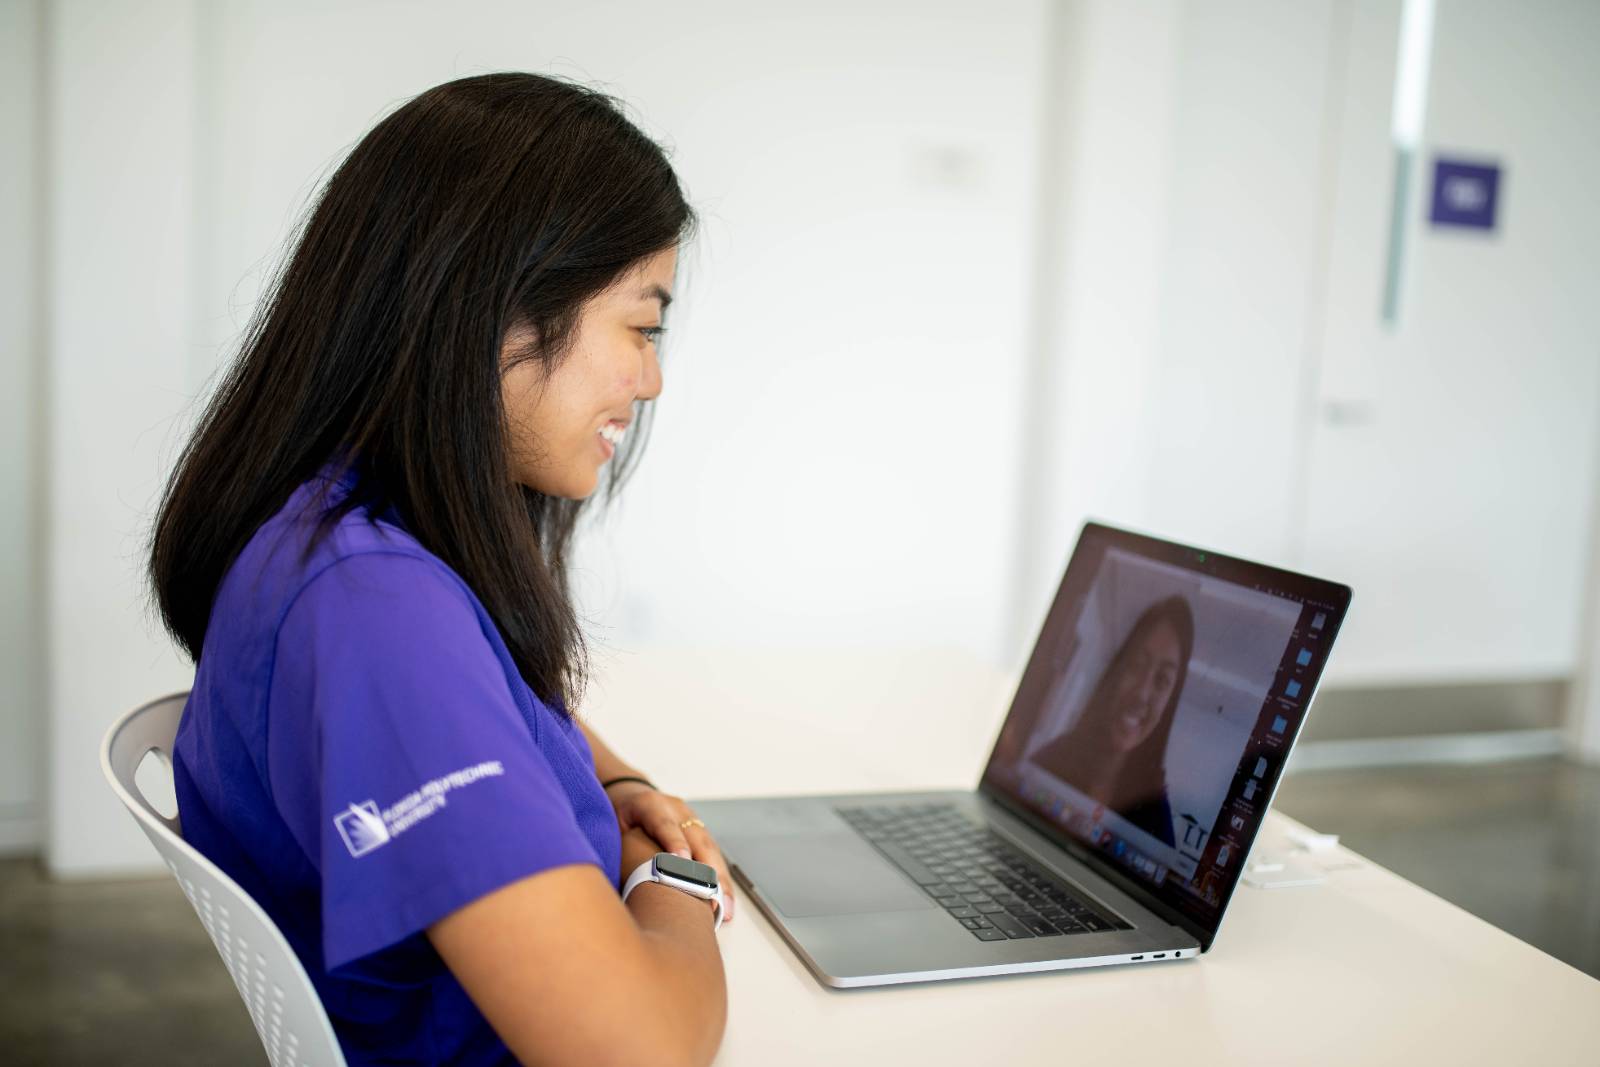
Avoid clothing with large logos that represent other other companies or universities. Stick with Florida Poly gear that's appropriately branded.
Avoid clothing with colors that blend in with your background.
Avoid patterns (stripes, plaids, polka dots).
Avoid shiny fabrics or jewelry.
Avoid visible labels, logos, text, images.
Avoid wrinkled clothes.
Avoid all white or all black clothing.
Avoid noisy accessories that could interfere with your audio.
If you can, ask a friend/family member to assist you while you record.
Do a short recording test to make sure you can see and hear yourself clearly.
Have water handy for clearing your throat.
Give yourself time to get comfortable. Once you hit record, take a few seconds, a deep breath, get comfortable, and position yourself in the right spot. We will be editing this, so you don’t have to start the second you hit record or end it right when you finish speaking. Also, if you mess up or want to answer the question differently, no problem. You can redo your answer and in editing we will pick the best take.Follow these steps to record a high-quality video and make sure you’re putting your best foot (and face) forward.
Check your video camera settings to make sure you are shooting one of three formats: 1080p at 30fps, 1080p at 60fps, or 1080p at 24fps. 720p and 4k is fine too.
If you are unsure, no worries, your camera’s default setting should generally be ok.
